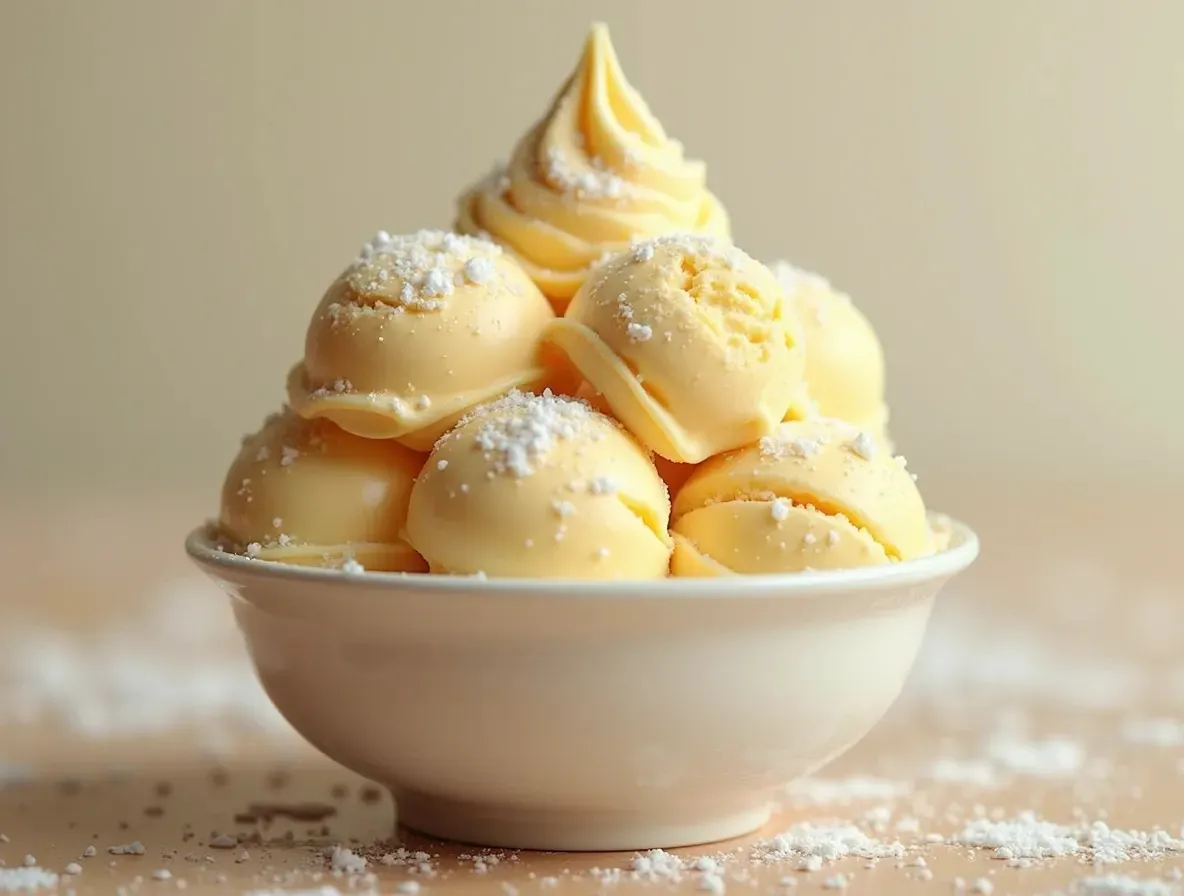
How to make vanilla ice cream at home
Who doesn’t love a classic scoop of vanilla ice cream? Whether it’s a hot summer day, a special occasion, or just because you’re craving something sweet, vanilla ice cream is always the answer. But have you ever wondered how to make vanilla ice cream at home? Trust me, once you try making it yourself, you’ll never want to go back to store-bought again. Not only is homemade ice cream fresher, but it’s also customizable and, dare I say, fun to make!
In this step-by-step guide, I’m going to walk you through everything you need to know to make the best vanilla ice cream right in your kitchen. We’ll cover the ingredients, the equipment, and the process from start to finish, so you’ll feel like an ice cream-making pro in no time. Ready to dive in?
Ingredients
Essential Ingredients for Vanilla Ice Cream
When it comes to making vanilla ice cream, the key to a smooth, creamy texture is using the right ingredients. Below is the list of essential ingredients you’ll need:
| Ingredient | Quantity |
|---|---|
| Heavy Cream | 2 cups |
| Whole Milk | 1 cup |
| Granulated Sugar | 3/4 cup |
| Egg Yolks | 4 |
| Pure Vanilla Extract | 2 teaspoons |
| Salt | A pinch |
Substitutes for Key Ingredients
We all have different dietary needs or preferences, so here are some substitutions that work just as well if you need to adjust the recipe:
- Heavy Cream: You can swap this with coconut cream for a dairy-free option or use whole milk if you’re looking for a lighter version.
- Egg Yolks: For a vegan alternative, use cornstarch to thicken the ice cream base instead of eggs.
- Granulated Sugar: Substitute with honey, maple syrup, or stevia to fit your preferred sweetness level.
Equipment Needed
Essential Tools for Making Vanilla Ice Cream
To get the best results when making your homemade vanilla ice cream, here’s a list of the essential tools you’ll need:
| Equipment | Purpose |
|---|---|
| Mixing Bowl | To whisk together the ingredients |
| Saucepan | For heating the milk and cream mixture |
| Whisk | To stir the mixture smoothly |
| Ice Cream Maker | Essential for churning the ice cream |
| Fine Mesh Strainer | To strain out any bits after cooking |
| Container for Freezing | To store your ice cream once it’s made |
Optional Equipment for Enhanced Results
While the above equipment will definitely do the trick, there are a few optional tools you might want to consider for an even better ice cream experience:
- Digital Thermometer: Helps to ensure the custard mixture doesn’t overheat.
- Hand Blender: If you prefer a quicker mixing method for the cream and milk mixture.
What to Look for in Ice Cream Makers
When choosing an ice cream maker, it’s important to consider:
- Ease of Use: Make sure it’s easy to set up and clean.
- Capacity: Choose one that fits your needs, whether you want to make small batches or large ones.
- Freezing Method: Some models have a built-in freezer, while others require pre-freezing the bowl.
Step-by-Step Instructions
Step 1: Prepare the Custard Base
To start, you’ll need to make the custard that will form the base of your ice cream. In a saucepan over medium heat, combine the whole milk and heavy cream. Stir occasionally until the mixture begins to steam, but don’t let it boil!
Meanwhile, whisk the egg yolks and sugar in a bowl until the mixture becomes pale and thick.
Step 2: Temper the Eggs
Now comes a crucial step—tempering the eggs. Gradually add a bit of the hot cream mixture to the egg yolks while whisking constantly. This will slowly raise the temperature of the eggs without scrambling them. Once the eggs are warmed up, pour them back into the saucepan with the rest of the cream and milk.
Step 3: Cook the Custard
Heat the mixture on low heat, stirring constantly with a wooden spoon or silicone spatula. You want to cook it until the custard thickens and coats the back of the spoon. This could take around 10-12 minutes, so be patient!
Step 4: Strain and Cool
Once your custard is thick, remove it from the heat and strain it through a fine mesh sieve into a clean bowl. This helps remove any bits of cooked egg and ensures a silky-smooth texture. Let it cool at room temperature for about 15 minutes, then refrigerate for at least 2 hours or overnight.
Step 5: Churn the Ice Cream
Once the custard has chilled, pour it into your ice cream maker and churn according to the manufacturer’s instructions. This usually takes about 20-30 minutes. The ice cream will thicken up and become creamy as it churns.
Step 6: Freeze and Serve
Transfer your ice cream to an airtight container and place it in the freezer for at least 4 hours to harden. After it’s fully set, scoop it out and enjoy!
Tips & Tricks for Success
How to Make Vanilla Ice Cream Even Better
- Use high-quality vanilla extract: The flavor of vanilla is the star of the show, so don’t skimp on quality.
- Add a pinch of salt: It enhances the flavor and balances out the sweetness of the sugar.
- Don’t over-churn: Keep an eye on your ice cream maker while churning. Over-churning can cause it to become too icy and lose its creamy texture.
Common Mistakes to Avoid
- Boiling the cream: Keep the heat low when making the custard. Boiling will ruin the texture and flavor of your ice cream.
- Skipping the chilling step: If you don’t allow the custard to chill properly, it won’t churn properly in the ice cream maker.
Time-Saving Tips for Making Ice Cream
- Make your custard the night before so it has plenty of time to cool in the fridge.
- If you don’t have an ice cream maker, you can pour the mixture into a shallow dish and freeze it, stirring every 30 minutes for about 2-3 hours until it reaches a smooth consistency.
Variations and Substitutes
Vanilla Ice Cream Variations for Different Diets
- Vegan: Use coconut milk or almond milk, and replace the egg yolks with cornstarch or a store-bought egg replacer.
- Gluten-Free: This recipe is naturally gluten-free, so no changes are needed!
Creative Twists to Try with Vanilla Ice Cream
- Add crushed cookies like Oreos or graham crackers for a fun twist.
- Swirl in caramel, chocolate fudge, or fruit puree to create a more decadent dessert.
- Try infusing the cream with spices like cinnamon or nutmeg for a seasonal touch.
How to Serve Vanilla Ice Cream
Best Side Dishes to Pair with Vanilla Ice Cream
Vanilla ice cream is delicious on its own, but here are some great sides that complement its sweet simplicity:
- Warm brownies: The contrast of warm and cold is a classic favorite.
- Fresh berries: Strawberries, raspberries, or blueberries add a burst of fresh flavor.
Serving Suggestions for Occasions
- Summer BBQs: Serve with a fruity compote or sprinkles.
- Birthday Parties: A topping bar with chocolate chips, marshmallows, and whipped cream makes it fun for everyone.
Nutritional Information
Here’s a quick breakdown of what’s in your homemade vanilla ice cream:
| Nutrient | Amount per Serving |
|---|---|
| Calories | 250 |
| Protein | 3g |
| Carbohydrates | 26g |
| Fat | 16g |
| Fiber | 0g |
How to Make Vanilla Ice Cream Healthier
- Use a sugar substitute like stevia or monk fruit for fewer calories.
- Swap heavy cream for a lighter option like half-and-half or coconut milk.
- Reduce the sugar and increase the vanilla extract for a more natural flavor.
Conclusion
Why You’ll Love This Vanilla Ice Cream Recipe
Making vanilla ice cream from scratch might sound intimidating at first, but with this simple guide, it’s easier than you think! You’ll love the rich, creamy texture and the way the pure vanilla flavor shines through in every bite. Plus, when you make it yourself, you have the freedom to customize the recipe to your liking. So, what are you waiting for? Grab your ingredients and get churning!
Let Us Know How It Turned Out in the Comments
We’d love to hear about your ice cream-making experience! Drop a comment below to let us know how your homemade vanilla ice cream turned out.
Know someone who loves ice cream? Share this recipe with them so they can make their own delicious batch at home.
For more tasty recipes and tips, make sure to follow us on social media. Happy ice cream making!
FAQs
- Can I make vanilla ice cream without an ice cream maker? Yes! You can freeze the custard in a shallow pan, stirring it every 30 minutes until it becomes smooth.
- How long does homemade vanilla ice cream last in the freezer? Homemade ice cream lasts about 2-3 weeks in the freezer, but it’s best enjoyed within the first week for optimal texture.
- Can I add mix-ins like chocolate chips or fruit to this recipe? Absolutely! Add your mix-ins during the last few minutes of churning in the ice cream maker, or swirl them in after freezing.
- What is the difference between custard-based ice cream and other types? Custard-based ice cream uses egg yolks to create a rich, smooth texture, while other types may rely on a cream or milk base.
- Can I make vanilla ice cream without egg yolks? Yes, you can. You can use cornstarch or agar agar as a thickening agent instead of eggs.