How to Make Coffee Creamer Without Condensed Milk
Have you ever grabbed your morning coffee, reached for the creamer, and paused—reading that long list of ingredients and preservatives? Yeah, me too. It’s wild how something as simple as creamer is often packed with artificial flavors, added sugars, and—you guessed it—condensed milk. But what if I told you that making your own homemade coffee creamer without condensed milk is not only possible, but also ridiculously easy and delicious?
Whether you’re dairy-free, vegan, keto, or just trying to cut back on processed foods, this recipe is for you. It’s rich, creamy, customizable, and made with real, wholesome ingredients you probably already have in your kitchen. Trust me—I’ve tested more versions of this than I care to admit, and today I’m giving you the best one.
Let’s talk real coffee creamer, minus the canned sugar bomb. Ready to become your own barista?
Why This Recipe is Perfect for the Health-Conscious Coffee Lover
This creamer recipe is perfect for anyone who wants:
- A dairy-free or lactose-free coffee creamer
- A vegan coffee creamer that’s still rich and flavorful
- To ditch condensed milk, sugar syrups, and emulsifiers
- A budget-friendly and natural coffee creamer with clean ingredients
- A DIY project that’s actually fun and satisfying
Oh—and did I mention how insanely good your morning brew will taste?
Quick Overview of the Recipe and Its Benefits
This creamer is:
- Creamy and smooth, just like the store-bought stuff
- Fully customizable—go vanilla, hazelnut, cinnamon, or even pumpkin spice
- Dairy-free, vegan, gluten-free, and refined sugar-free
- Ready in under 10 minutes with no fancy tools
- Made from pantry staples like almond milk, coconut milk, maple syrup, and vanilla extract
Ingredients
Essential Ingredients for Homemade Coffee Creamer Without Condensed Milk
Here’s what you’ll need to get started:
| Ingredient | Amount | Notes |
|---|---|---|
| Unsweetened almond milk | 1 cup | Or any non-dairy milk like oat, soy, or rice |
| Full-fat coconut milk | 1 cup | Adds creaminess without condensed milk |
| Maple syrup | 2–3 tbsp | Natural sweetener (can sub with agave) |
| Vanilla extract | 1 tsp | For classic creamer flavor |
| Sea salt | A pinch | Enhances flavor |
Substitutes for Key Ingredients
- No almond milk? Try oat milk for extra creaminess or rice milk for a lighter option.
- No maple syrup? Use agave, honey (if not vegan), or even a few drops of stevia for low-carb diets.
- No coconut milk? Cashew cream or blended soaked cashews make excellent creamy alternatives.
Equipment Needed
Essential Tools for Making Homemade Creamer
- Mixing bowl
- Whisk or blender (high-speed blender gives best texture)
- Measuring spoons and cups
- Mason jar or bottle for storage
Optional Equipment for Enhanced Results
- Fine mesh strainer if your mixture ends up grainy
- Milk frother for next-level coffee foam
What to Look for in the Best Blender
Look for a high-speed blender like Vitamix or Ninja that blends nuts and liquids smoothly without grit. For creamers with dates or nut bases, a good blender is your best friend.
Step-by-Step Instructions
Step One: Choose Your Base
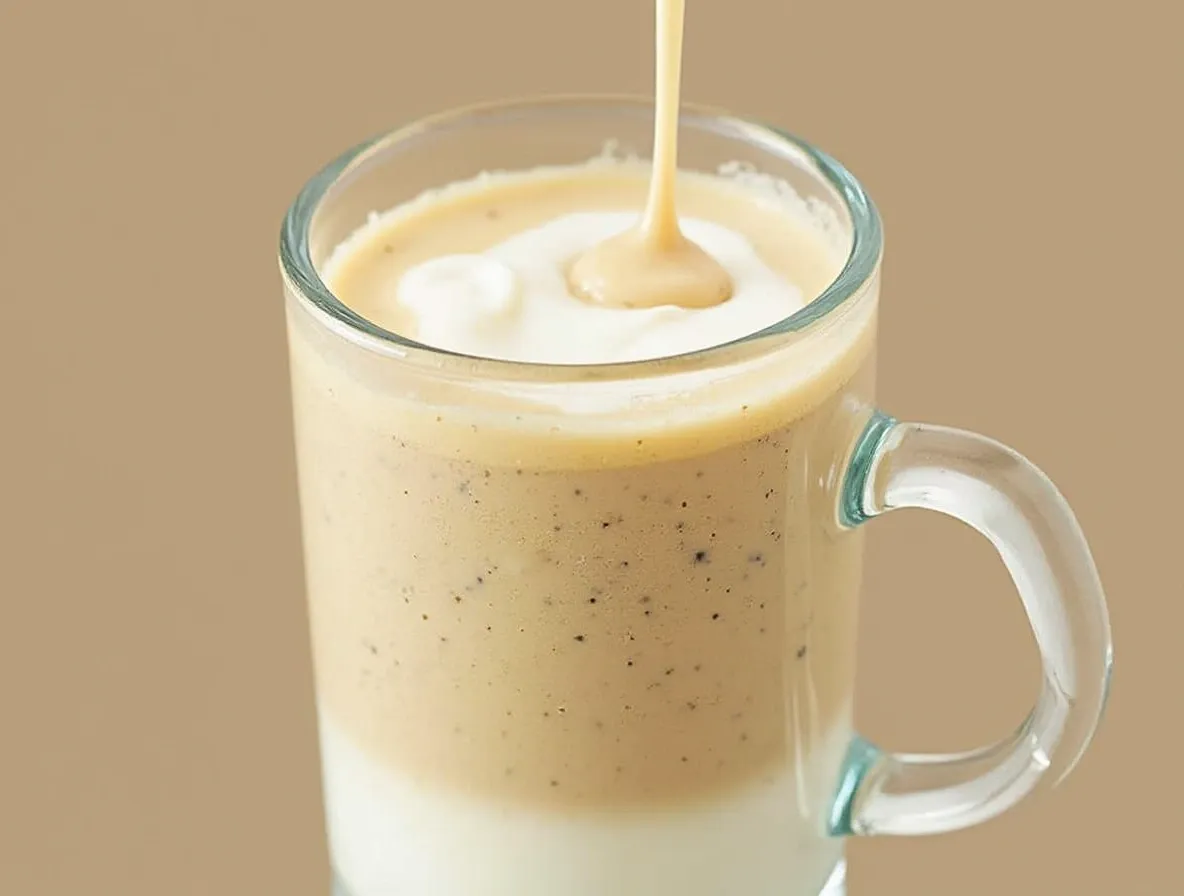
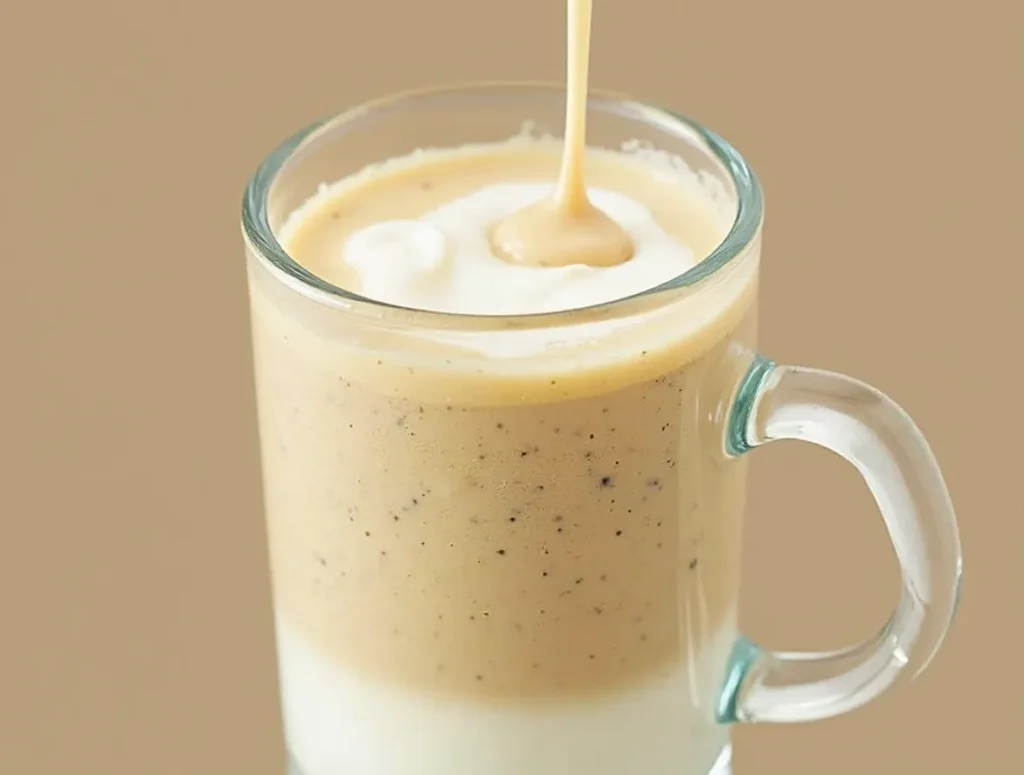
Start with unsweetened almond milk and full-fat coconut milk. The combo gives you that store-bought creaminess without any dairy or condensed milk.
Step Two: Sweeten Naturally
Add maple syrup, vanilla extract, and just a pinch of sea salt. This balance brings out the full-bodied flavor, especially if your coffee is bold or dark roast.
Step Three: Blend it All Together
Using a whisk is fine, but a blender makes magic. Just 15–30 seconds, and you’ve got a smooth, creamy mix ready for your coffee.
Step Four: Taste and Tweak
Want it sweeter? Add more syrup. Want a twist? Throw in cinnamon, hazelnut extract, or even cocoa powder.
Step Five: Store It Right
Pour into a clean, airtight jar and refrigerate. It lasts 5–7 days—if you don’t drink it all by then!
Tips & Tricks for Success
Time of Cooking
Technically, there’s no cooking required—but warming your mixture slightly can help blend the flavors if using thick coconut milk.
How to Make It Even Better
- Use homemade almond milk for extra freshness.
- Add a dash of cinnamon or nutmeg during the holidays.
- Experiment with flavored extracts like peppermint, almond, or caramel.
Common Mistakes to Avoid
- Don’t skip the fat! Using only almond milk results in a thin, watery creamer.
- Avoid over-sweetening upfront—start small and adjust to taste.
- Store in glass, not plastic—it keeps better and tastes cleaner.
Time-Saving Tips
- Double the batch and freeze half in an ice cube tray.
- Use a milk frother for that café-style experience.
Variations and Substitutes
Variations for Different Diets
- Keto: Use unsweetened almond milk and heavy cream or MCT oil. Sweeten with monk fruit or stevia.
- Paleo: Stick with coconut cream, vanilla, and maple syrup.
- Vegan: This recipe is already fully plant-based!
Creative Twists
- Pumpkin Spice Creamer: Add pumpkin puree and pumpkin pie spice.
- Mocha Creamer: Stir in cocoa powder and espresso powder.
- Cinnamon Roll: Use cinnamon, vanilla, and a drop of almond extract.
How to Serve Homemade Coffee Creamer
Best Side Dishes to Pair
- Homemade muffins (banana or pumpkin are amazing)
- Avocado toast for a balanced breakfast
- Dairy-free pastries or cookies
Serving Suggestions for Occasions
- Cozy mornings at home
- Brunch with friends
- Office coffee upgrade
- Holiday breakfast tables
Nutritional Information
| Nutrient | Per 2 Tbsp Serving |
|---|---|
| Calories | 45 |
| Fat | 4g |
| Sugar | 2g (natural) |
| Protein | <1g |
| Fiber | 0g |
| Carbs | 3g |
How to Make It Healthier
- Use unsweetened non-dairy milk and skip sweeteners.
- Add collagen powder or plant-based protein if using it in smoothies.
Conclusion
Let’s be honest—once you learn how to make coffee creamer without condensed milk, you’re not going back to those store-bought bottles full of mystery ingredients. You’re in full control now. Whether you’re going for keto, vegan, sugar-free, or just better-tasting coffee, this recipe’s got your back.
It’s the kind of switch that makes a real difference in your daily routine. Every sip becomes intentional, satisfying, and a little celebration of your effort.
So, what are you waiting for? Go ahead, make your own homemade creamer and tell me how it turned out! Drop a comment below, share your flavor twists, or even snap a pic and tag us on social media.
Let’s make coffee personal again—one jar of creamy goodness at a time.
Follow us for more delicious recipes, kitchen hacks, and wellness tips!
FAQs
how long does homemade coffee creamer without condensed milk last
Your homemade creamer will last in the fridge for 5 to 7 days. Be sure to store it in an airtight container—preferably glass—and give it a good shake before each use.
can i freeze homemade coffee creamer
Absolutely! Pour the creamer into an ice cube tray, freeze it, and store the cubes in a zip-top bag. Use them in iced coffee or defrost a few at a time for convenience.
what is the best non dairy milk for coffee creamer
Almond milk and coconut milk are great choices because they strike the right balance between flavor and creaminess. Oat milk is excellent too—especially if you’re looking for that naturally sweet, full-bodied taste.
is this recipe keto friendly
Yes, with a few tweaks! Use unsweetened almond milk, heavy cream, or coconut cream, and sweeten with stevia, monk fruit, or erythritol to keep it low carb and keto-approved.
can i use this creamer in tea or other drinks
Of course! This creamer is super versatile. It’s great in chai, matcha lattes, hot cocoa, and even smoothies or overnight oats.