Step-by-step chocolate ice cream cake guide
Who doesn’t love a decadent chocolate cake, right? Now, imagine that chocolate cake combined with the creamy, dreamy goodness of ice cream. Yes, I’m talking about chocolate ice cream cake—the dessert that has the power to turn any ordinary day into a celebration. Whether it’s a birthday party, a holiday gathering, or just a cozy evening treat, this cake is sure to impress.
But here’s the kicker: You can make this incredible dessert at home with just a few simple ingredients and a little patience. Intrigued? You should be! In this guide, I’m going to walk you through everything you need to know to make the best chocolate ice cream cake you’ve ever tasted. Trust me, once you make this once, you’ll find every excuse to make it again!
What Is a Chocolate Ice Cream Cake?
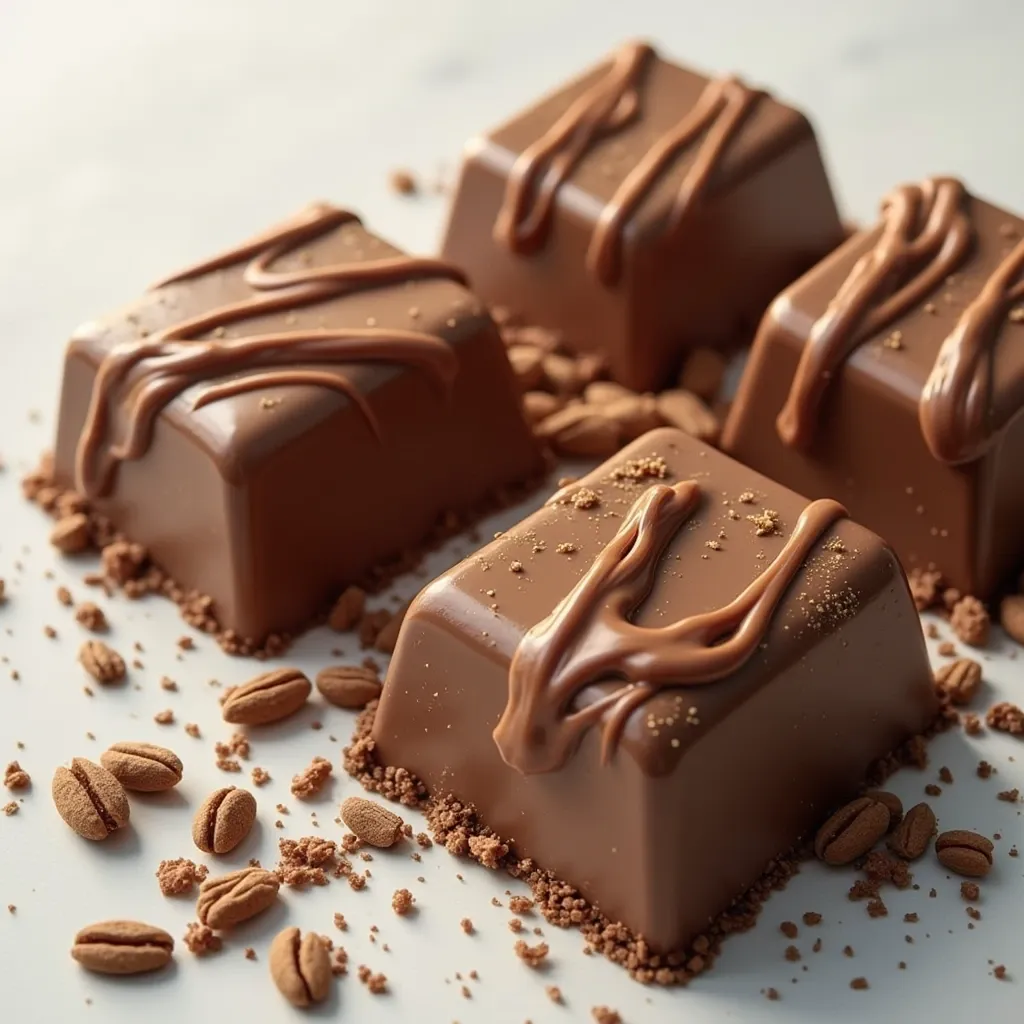
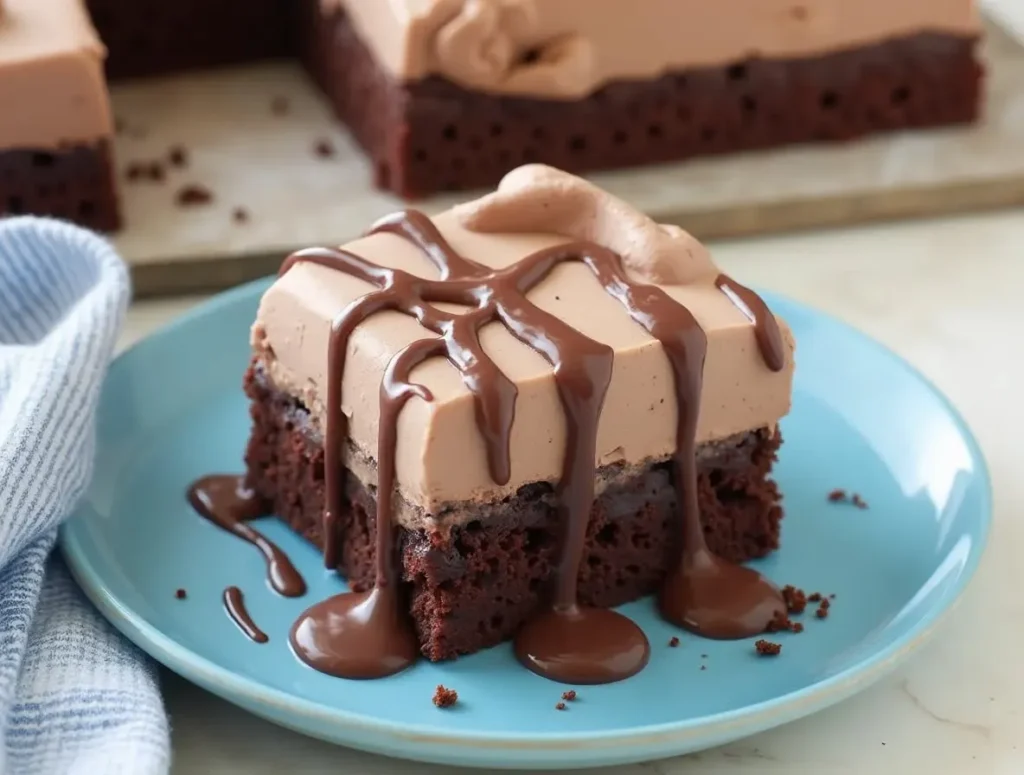
Before we dive into the nitty-gritty of the recipe, let’s quickly discuss what makes this cake so special. A chocolate ice cream cake is typically a combination of chocolate cake and layers of rich, creamy ice cream, topped off with a chocolate ganache, whipped cream, and sometimes even sprinkles or chocolate shavings. It’s the perfect blend of moist cake and cool, creamy ice cream that melts in your mouth.
But why stop there? You can layer it, decorate it, and add your own twist to make it even more indulgent.
Ingredients You’ll Need
You might be thinking, “That sounds great, but what do I need to make this?” Don’t worry, I’ve got you covered. Below is a table that breaks down everything you’ll need for the cake, the ice cream, and the toppings.
Chocolate Ice Cream Cake Ingredients
| Category | Ingredients |
|---|---|
| For the Cake | 1 ½ cups all-purpose flour 1 ½ tsp baking powder 1 ¼ cups sugar ½ cup unsweetened cocoa powder 1 tsp vanilla extract 2 large eggs 1 cup milk ½ cup vegetable oil |
| For the Ice Cream | 4 cups of chocolate ice cream (store-bought or homemade) 2 cups of vanilla ice cream (optional for layering) |
| For the Ganache | ½ cup heavy cream 1 cup dark chocolate (chopped) 2 tbsp butter |
| For the Whipped Cream | 1 cup heavy cream 2 tbsp powdered sugar 1 tsp vanilla extract |
| For the Toppings | Chocolate shavings (optional) Chopped nuts or sprinkles (optional) Fresh cherries (optional) |
Step-by-Step Guide: How to Make Chocolate Ice Cream Cake
Now that you’ve got your ingredients ready, it’s time to get baking (and freezing!). I promise, it’s much simpler than it sounds. Let’s break it down:
Step 1: Bake the Chocolate Cake
Why start with the cake? Well, the cake needs to be baked, cooled, and then layered with ice cream, so this is where we begin.
- Preheat your oven to 350°F (175°C). Grease and flour a round cake pan (8 or 9 inches in diameter should work well).
- In a medium-sized bowl, mix together the dry ingredients: flour, cocoa powder, baking powder, and sugar.
- In a separate bowl, whisk the wet ingredients: eggs, milk, vegetable oil, and vanilla extract.
- Combine wet and dry ingredients until smooth. Pour the batter into your prepared cake pan and spread it out evenly.
- Bake the cake for about 30–35 minutes. To check if it’s done, insert a toothpick into the center of the cake. If it comes out clean, it’s ready!
- Let the cake cool completely before assembling. I know it’s tempting to rush ahead, but trust me—this step is crucial!
Step 2: Layer the Cake and Ice Cream
Once your cake has cooled down, it’s time to add the ice cream layers. This is where the magic happens!
- Slice the cake in half horizontally to create two layers. This will give you room for the ice cream to shine through.
- Soften the ice cream slightly at room temperature for a few minutes, making it easier to spread. You can use both chocolate and vanilla ice cream for a layered effect, or stick to all chocolate for a richer flavor.
- Spread the first layer of ice cream over the bottom layer of the cake, smoothing it out with a spatula. Use about 2 cups of ice cream here.
- Place the second layer of cake on top of the ice cream layer. Gently press down to secure it in place.
- Repeat the process by spreading another layer of ice cream over the second cake layer.
Step 3: Freeze the Cake
Now that you’ve got your cake and ice cream layers in place, it’s time to let the magic chill (literally).
- Wrap the cake tightly with plastic wrap and place it in the freezer for at least 4 hours. If you can, freeze it overnight—this helps everything set up perfectly and makes it easier to cut later.
Step 4: Prepare the Chocolate Ganache
What’s a chocolate ice cream cake without a rich, velvety chocolate ganache to finish it off? Trust me, this step is worth the wait.
- In a saucepan, heat the heavy cream over medium heat until it begins to simmer (but not boil).
- Pour the hot cream over your chopped dark chocolate in a heatproof bowl. Let it sit for a minute or two, then stir until smooth and glossy.
- Add butter to the ganache and stir until it’s fully melted and the ganache is silky smooth.
- Let the ganache cool slightly before pouring it over the top of the cake.
Step 5: Add Whipped Cream and Decorations
A little whipped cream can take this cake from amazing to extraordinary! Here’s how to do it:
- Make the whipped cream by whipping the heavy cream, powdered sugar, and vanilla extract in a chilled bowl until stiff peaks form.
- Spread the whipped cream over the top and sides of the cake using a spatula.
- Decorate with chocolate shavings, nuts, sprinkles, or fresh cherries for that professional touch.
Step 6: Freeze and Serve
Now that your cake is fully assembled and decorated, it’s time for the final freeze:
- Place the cake back into the freezer for an additional 30 minutes to set the whipped cream and ganache.
- Slice and serve! Let the cake sit at room temperature for 5–10 minutes before cutting to make slicing easier. The ice cream will soften just enough to give you perfect, clean slices.
Tips for Perfecting Your Chocolate Ice Cream Cake
Now that you know how to make the cake, here are some tips to elevate your creation:
Tip 1: Use Premium Ingredients
For the best flavor, use high-quality chocolate (preferably 70% dark) and real vanilla extract. It makes all the difference!
Tip 2: Make It a No-Bake Cake
Want to skip the baking step? No problem! Use store-bought brownies or even cookies as your base for a quick, no-bake version.
Tip 3: Get Creative with Flavors
Try using different ice cream flavors to make your cake unique. How about adding a swirl of mint ice cream, or mixing in crushed Oreos for an extra crunch?
Tip 4: Decorate Like a Pro
Sprinkles, chocolate curls, or even edible gold flakes can take your cake to the next level. Don’t forget to add a few fresh cherries on top for that extra special touch!
FAQs About Chocolate Ice Cream Cake
Yes! If you’re short on time, you can absolutely use a store-bought chocolate cake mix. Just follow the instructions on the box and bake it as usual.
Absolutely! You can substitute dairy-free or vegan ice cream in this recipe for a lactose-free option.
Store your cake in the freezer, tightly wrapped in plastic wrap or placed in an airtight container. It will keep for up to a week.
Yes! You can assemble and decorate the cake the day before. Just make sure to freeze it overnight to keep everything in place.
Conclusion: Your Chocolate Ice Cream Cake Awaits
There you have it—the ultimate chocolate ice cream cake recipe! Whether you’re celebrating a special occasion or just indulging your sweet tooth, this dessert is sure to be a crowd-pleaser. Follow these steps, use the tips I’ve shared, and you’ll create a cake that’s not only delicious but also impressive.
So, what are you waiting for? Grab your ingredients, roll up your sleeves, and make this decadent cake today! And when you do, be sure to share your creation with me—I’d love to see your version of this irresistible treat.
Feeling inspired? Go ahead and make your own chocolate ice cream cake today! Don’t forget to share your pictures on social media and tag me—I can’t wait to see how it turns out! Happy baking (and freezing)!