How to make clotted cream in 5 steps
Clotted cream, that luxuriously thick, velvety spread, is a true treasure of British cuisine. Whether you’ve been to Devon or Cornwall or simply heard about this delectable cream in stories, there’s no denying its appeal. But what if I told you that you could make it at home, from scratch, without ever having to hop on a plane to the UK? That’s right – clotted cream is something you can make in your very own kitchen, and today, I’m going to show you exactly how.
In this article, we’ll dive deep into the process of making clotted cream, along with tips, tricks, and some creative variations. Whether you’re preparing for a traditional afternoon tea, a brunch with friends, or simply want to indulge yourself in a little indulgence, this recipe will help you create the perfect batch of homemade clotted cream. Ready to get started? Let’s jump in!
Why This Recipe is Perfect for You
Clotted cream is more than just a treat – it’s an experience. Imagine spreading a thick, rich layer of this smooth cream over warm scones, paired with jam and perhaps a cup of tea. It’s like a warm hug in a bite, one that evokes images of quaint English tea rooms and cozy afternoons. Whether you’re someone who’s always wanted to try clotted cream or you’re simply looking for a way to bring a touch of elegance to your baking, this homemade recipe is a game-changer.
Why is this recipe so perfect for you? Because it’s easy, authentic, and surprisingly foolproof. Plus, you’ll get to enjoy homemade cream in its freshest, most flavorful form. Not to mention, you don’t need a lot of fancy equipment or hard-to-find ingredients – just a little patience and the right know-how.
Quick Overview of the Recipe and Its Benefits
Clotted cream is traditionally made by slowly heating heavy cream to allow the cream to separate into “clots” or thickened portions on top, with a rich and creamy texture that’s unlike anything else. The best part? You only need two ingredients: heavy cream and time.
Here’s a sneak peek at what you’ll get from this recipe:
- Rich and indulgent flavor: Clotted cream has a buttery, slightly sweet flavor that’s perfect for pairing with scones, desserts, or just about anything you can dream of.
- Simple ingredients: All you need is heavy cream and a bit of patience.
- Authentic results: This recipe will give you that beautiful, traditional clotted cream you’ve been craving.
Now, let’s get into the details!
Ingredients: What You’ll Need
The beauty of this recipe lies in its simplicity. Here’s what you’ll need to get started:
Essential Ingredients for Clotted Cream
| Ingredient | Amount |
|---|---|
| Heavy cream (not ultra-pasteurized) | 2 cups (480 ml) |
Substitutes for Key Ingredients:
- Heavy cream substitute: If you can’t find heavy cream, you could try using double cream, although this might alter the texture slightly.
- Non-dairy option: If you’re avoiding dairy, unfortunately, there’s no exact substitute for devonshire cream, but coconut cream is a potential option, though it won’t give the same texture.
Equipment Needed
Making clotted cream doesn’t require much, but there are a few key items that will make the process easier.
Essential Tools for Making Clotted Cream
- Oven-safe dish or shallow pan: This is where you’ll place the cream to slowly heat.
- Oven: The clotted cream process involves heating the cream at a very low temperature for hours, so you’ll need an oven for that.
- Spoon: To skim the clotted cream off once it forms.
- Jar or container for storing: After the cream has cooled, you’ll want to store it in something airtight.
Optional Equipment for Enhanced Results
- Thermometer: While it’s not strictly necessary, a thermometer can help you monitor the cream’s temperature to ensure it stays low and steady.
- Strainer: If you prefer an even smoother texture, you can strain the cream before storing it.
Step-by-Step Instructions:
Now, let’s walk through the process of making this decadent treat step by step. Don’t worry – it’s easier than you think!
Step 1: Preheat Your Oven
Start by preheating your oven to a low temperature – around 170°F (77°C). The key to devonshire cream is slow, steady heat, which allows the cream to separate into clots without cooking too quickly.
Step 2: Pour the Heavy Cream Into Your Oven-Safe Dish
Take your heavy cream and pour it into an oven-safe dish. The dish should be wide enough to give the cream room to spread out – about a shallow 2-inch depth works best. Make sure your cream is smooth and free of any lumps.
Step 3: Bake the Cream
Place the dish in the preheated oven and let it bake for 12 hours. Yes, you read that right – it’s a slow and patient process. The cream should become a bit thicker during this time, and you’ll see a golden, crusty layer form on top. This is where the devonshire cream magic happens!
Step 4: Cool the Cream
After 12 hours, turn off the oven and let the cream cool at room temperature for 2 hours. Once cooled, cover the dish with plastic wrap or a lid, and refrigerate for at least 8 hours, or overnight.
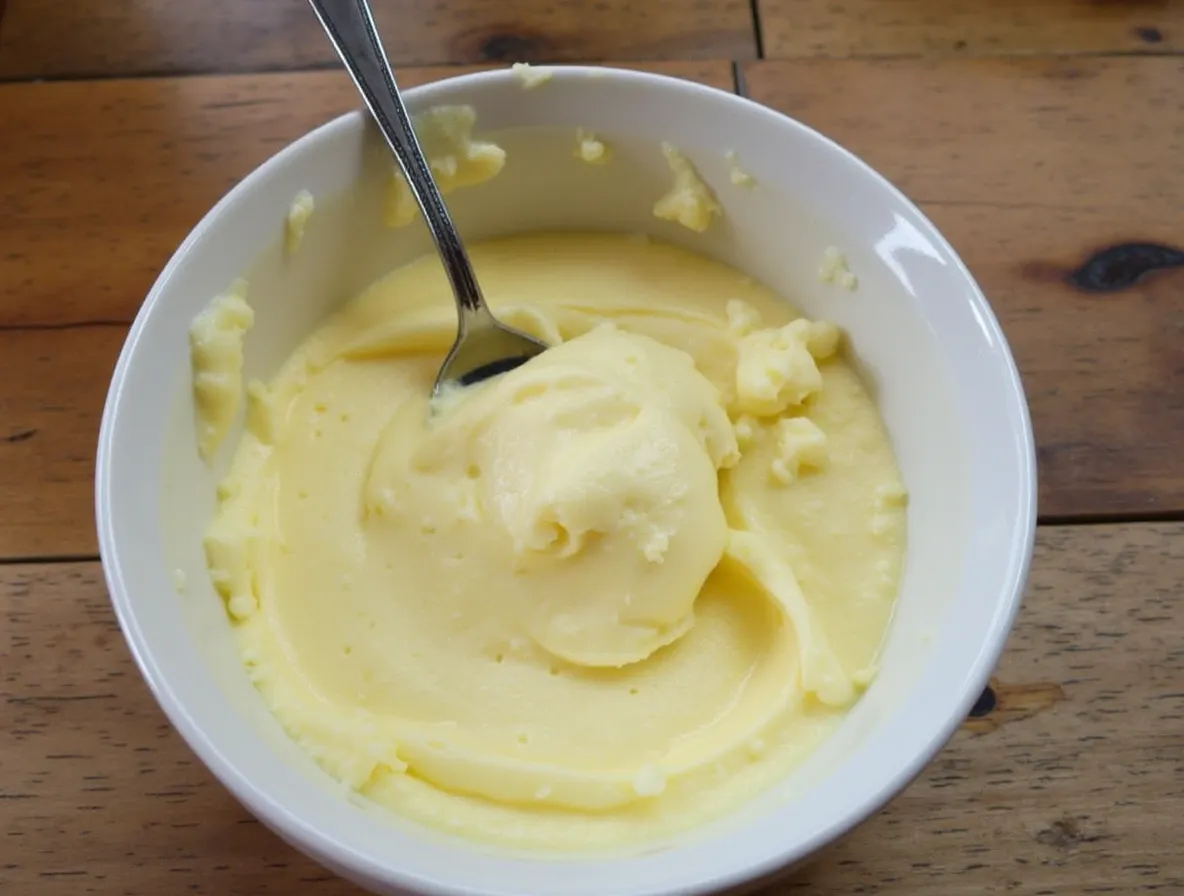
Step 5: Skim and Store
When you remove the dish from the fridge, you should see a thick, devonshire cream layer on top. Gently skim this layer off with a spoon and transfer it to a clean jar or container. This is your homemade devonshire cream!
Tips & Tricks for Success
Making devon cream might seem easy, but there are a few things to keep in mind to ensure your batch turns out perfectly.
Time of Cooking
Patience is key. The long cooking time (12 hours in the oven) is essential to allow the cream to thicken properly. Don’t rush this process, as it gives you that signature texture.
How to Make Clotted Cream Even Better
- Use fresh, quality cream: The best devonshire cream comes from the best cream, so don’t skimp on quality.
- Add a touch of sweetness: If you like a slightly sweeter flavor, you can add a small spoonful of sugar or vanilla extract while baking.
Common Mistakes to Avoid
- Using ultra-pasteurized cream: This will not give you the correct texture, so make sure you use non-ultra-pasteurized cream.
- Overheating: Too high of a temperature will ruin the texture. Keep it low and slow!
Time-Saving Tips
- Use a slow cooker: If you don’t have an oven, you can try making clotted cream in a slow cooker, although the texture might vary slightly.
Variations and Substitutes
While this recipe gives you the traditional devonshire cream, you can always get creative with different variations!
Clotted Cream Variations for Different Diets
- Vegan Clotted Cream: Try using coconut cream or cashew cream as a base. The texture will differ, but it’s a great alternative for those avoiding dairy.
- Gluten-Free: Don’t worry about gluten – this recipe is naturally gluten-free!
Creative Twists to Try with Clotted Cream
- Flavored Clotted Cream: Add some lemon zest, vanilla, or even cinnamon to give your clotted cream a unique twist.
- Clotted Cream with Honey: Sweeten it up with a drizzle of honey for a special treat.
How to Serve this recipe
Now that you’ve got your homemade cream ready, the fun begins – serving it!
Best Side Dishes to Pair with Clotted Cream
- Scones: The classic pairing – serve your devonshire cream with warm, fresh scones and a dollop of strawberry jam.
- Fresh Fruit: Clotted cream is delicious with fresh berries, peaches, or even apples.
Serving Suggestions for Occasions
- Afternoon Tea: Serve your clotted cream as part of a traditional British tea spread, alongside finger sandwiches, tea cakes, and pastries.
- Brunch: It’s the perfect addition to a leisurely weekend brunch, especially with scones or muffins.
Nutritional Information
While devon cream is indulgent, it’s a treat to be enjoyed in moderation. Here’s a quick breakdown of what’s in one serving:
| Nutrient | Amount per Serving |
|---|---|
| Calories | ~55 calories |
| Protein | ~0.4g |
| Fat | ~5.5g |
| Carbohydrates | ~0.5g |
| Fiber | 0g |
How to Make Clotted Cream Healthier
Unfortunately, there’s not a “low-fat” version of devon cream, but you can make it a bit lighter by using light cream instead of heavy cream. Just know that the texture and richness might be slightly different.
Conclusion: Why You’ll Love This Recipe
This homemade clotted cream recipe brings a bit of British charm into your kitchen, and trust me, you won’t regret it. From the moment you first spread it on your scone, you’ll understand why this simple cream is such a cherished part of British culture. It’s rich, indulgent, and perfect for every occasion.
Now that you’ve learned how to make clotted cream, it’s your turn to try it out! Don’t just take my word for it – make your own batch, experiment with flavors, and serve it at your next gathering. Let me know how it turns out in the comments below, and don’t forget to share this recipe with your friends. For more delicious recipes, be sure to follow us on social media – we’ve got plenty more treats coming your way!
FAQs
- What’s the difference between clotted and whipped cream?
- Clotted cream is thicker and richer, while whipped cream is lighter and airier. Clotted cream is also made by slowly heating cream, which gives it its signature texture.
- Can I make this cream without an oven?
- Yes! You can use a slow cooker or even a double boiler to make clotted cream if you prefer not to use an oven.
- How long can I store homemade clotted cream?
- Store your clotted cream in an airtight container in the fridge for up to 5-7 days.
- Can I make cream with ultra-pasteurized cream?
- It’s best to use non-ultra-pasteurized cream, as ultra-pasteurized cream won’t give you the same texture.
- What’s the best way to serve this cream?
- Clotted cream is perfect with scones, muffins, or fresh fruit. It’s also great as a topping for desserts like Eton Mess.